Recording your screen can be incredibly useful, whether you want to capture app tutorials, save social media clips, or troubleshoot a technical issue. Many users don’t realize that the screen record iPhone feature is built directly into iOS and requires no third-party apps. This guide explains everything you need to know from enabling the feature to using advanced settings so you can take full advantage of the tool.
What Is Screen Recording on iPhone?
Screen recording is a function in iOS that allows you to capture exactly what appears on your device’s screen. It creates a video file that you can save, share, or edit. Apple designed this feature to be easy to access, so anyone can quickly record steps, gameplay, or visual instructions. Because the screen record iPhone tool is native to the system, it works smoothly with most apps and offers high-quality results.
Why You Might Want to Use Screen Recording
There are countless practical uses for screen recording. Many people use it to demonstrate how to use an app, gather evidence of a bug, or save important content for later reference. Parents often use the feature to monitor app behavior or teach children how to navigate safely. Content creators rely on the tool to record short clips for tutorials, social media, or reviews. With the screen record iPhone feature, all of this can be done without any extra software.
How to Enable Screen Recording in Control Center
Before you can use screen recording, you need to ensure the tool is added to your Control Center.
Steps to Enable the Feature:
- Open Settings on your iPhone.
- Tap Control Center.
- Scroll down until you find Screen Recording.
- Tap the green + button to add it to your Control Center.
Once enabled, you will always have quick access to the screen recording tool by swiping down from the top-right corner (or up from the bottom on older models).
How to Start a Screen Recording
Starting a recording requires only a few taps, making it easy to capture anything quickly.
To Begin Recording:
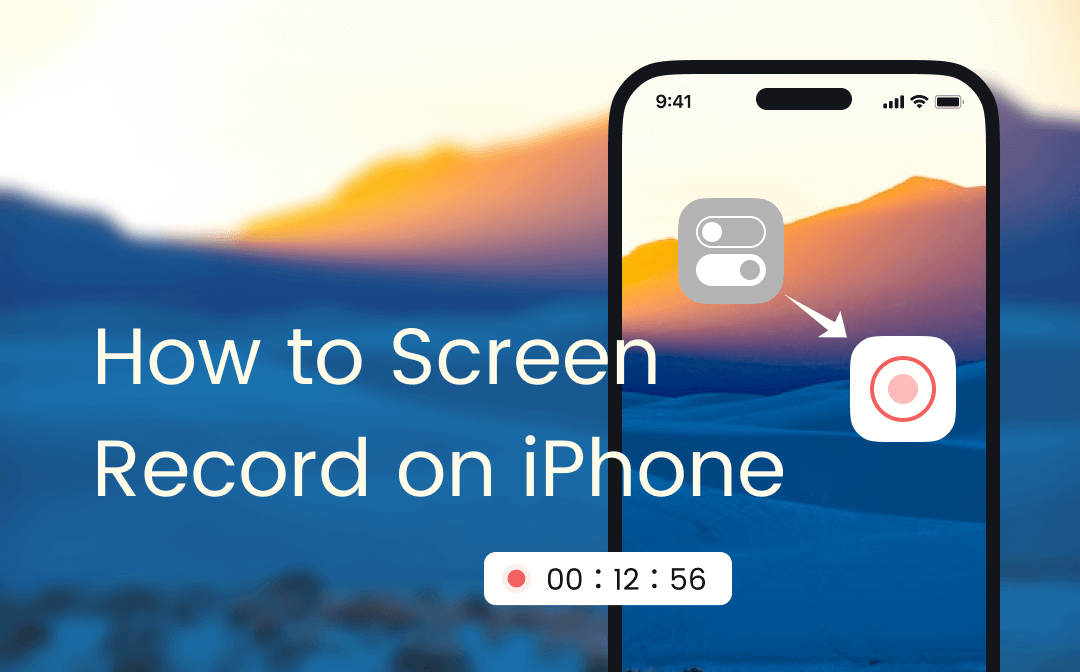
- Open Control Center.
- Tap the Screen Recording button (a solid circle inside another circle).
- A three-second countdown will appear.
- Your recording begins automatically after the countdown.
During recording, a red indicator or timer at the top of the screen confirms the process is active.
This simple method ensures the screen record iPhone experience remains effortless for all users.
How to Stop a Screen Recording
When you’re done, stopping your recording is just as simple:
- Tap the red timer or red bar at the top of the screen.
- Select Stop from the pop-up menu.
Your video is then automatically saved to the Photos app, where you can view, edit, or share it.
How to Record Screen With Microphone Audio
Sometimes you need both video and audio—such as when creating tutorials or recording commentary. The iPhone allows you to include microphone input seamlessly.
Steps to Turn On Microphone Audio:
- Open Control Center.
- Hold down the Screen Recording icon.
- Tap the Microphone button at the bottom to turn it on.
- Tap Start Recording.
This function gives you flexibility to add explanations, instructions, or background thoughts to your video.
Recording App Sounds vs. Microphone Sounds
Your iPhone can capture two types of audio:
1. Internal App Audio
This includes music, video sound, game audio, and system audio.
Most apps support internal audio recording unless restricted by privacy rules.
2. External Microphone Audio
This includes your voice or sound captured from your environment.
You must enable the microphone manually for this.
Understanding the difference helps you choose the right settings for specific projects and improves how you use the screen record iPhone feature.
Where Your Screen Recordings Are Saved
Every recording automatically appears in the Photos app. You can find it by navigating to:
Photos → Recents or Albums → Screen Recordings
Here, you can trim, crop, apply filters, adjust lighting, or share recordings on social platforms or via messaging apps.
How to Edit Your Screen Recording
Editing may be necessary when you want to shorten the clip or remove unnecessary parts.
Basic Editing Steps:
- Open your recording in Photos.
- Tap Edit in the top-right corner.
- Drag the handles to adjust the video’s start or end points.
- Tap Done, then choose Save Video or Save as New Clip.
This built-in editor allows you to polish your content before sharing.
Common Reasons Screen Recording May Not Work
Occasionally the feature may fail, usually due to restrictions or app protections.
Possible Causes:
- Screen Time or parental controls blocking it.
- App limitations (banking apps or streaming platforms often disable recording).
- Low storage preventing new files from saving.
- Software glitches requiring a restart or update.
By checking these common issues, you can restore the screen record iPhone function quickly.
How to Share Your Screen Recording
Once your video is ready, sharing is straightforward:
- Open the recording in Photos.
- Tap the Share icon.
- Choose your preferred method—AirDrop, Messages, Mail, or social media.
This makes it easy to distribute tutorials, demonstrations, or creative content.
Advanced Tips for Better Screen Recordings
To create professional-looking recordings, consider these useful tips:
Tip 1: Enable Do Not Disturb
Prevents notifications from appearing in your video.
Tip 2: Clean Your Screen
Swipe away Control Center, open apps cleanly, and remove clutter for a more polished outcome.
Tip 3: Use Landscape Mode When Necessary
Many tutorials and gameplay recordings look better horizontally.
Tip 4: Trim Out Mistakes
Remove pauses or errors to maintain viewer engagement.
Tip 5: Keep Storage Free
High-quality recordings take more space, so ensure your device has available storage.
These methods improve overall recording quality and user experience, making the most of the screen record iPhone tool.
Safety and Privacy Considerations
Screen recording captures everything visible on your screen, including notifications or sensitive information. Always:
- Turn off message previews.
- Avoid opening personal apps during recording.
- Ensure no private data appears in the clip.
Being cautious enhances security and protects personal information.
FAQs
1. Does the iPhone allow screen recording without audio?
Yes. If you do not enable the microphone, the iPhone records only internal audio or may record no audio depending on the app.
2. Why can’t I find the screen recording option?
You may not have added it to your Control Center. Go to Settings → Control Center and add Screen Recording.
3. Can I screen record phone calls?
iPhone does not allow recording calls with the standard screen record tool due to privacy laws.
4. Why is my screen recording black when recording certain apps?
Some apps—especially streaming platforms—block recording to protect copyrighted content.
5. Where do I find my saved screen recordings?
All recordings are saved automatically in the Photos app under Recents or the Screen Recordings album.
More Details : Sankalp Screens LB N – A Comprehensive Guide to Modern Screening Solutions